
I have been wanting to alter this lampshade for the longest time. As you can see in the before picture, it really didn't go with my decor...at all!
One thing that I did learn from this project is to iron out the wrinkles in the burlap before attaching. I was on a roll and didn't notice until it was all done. I will have to do some fancy steaming work on it.


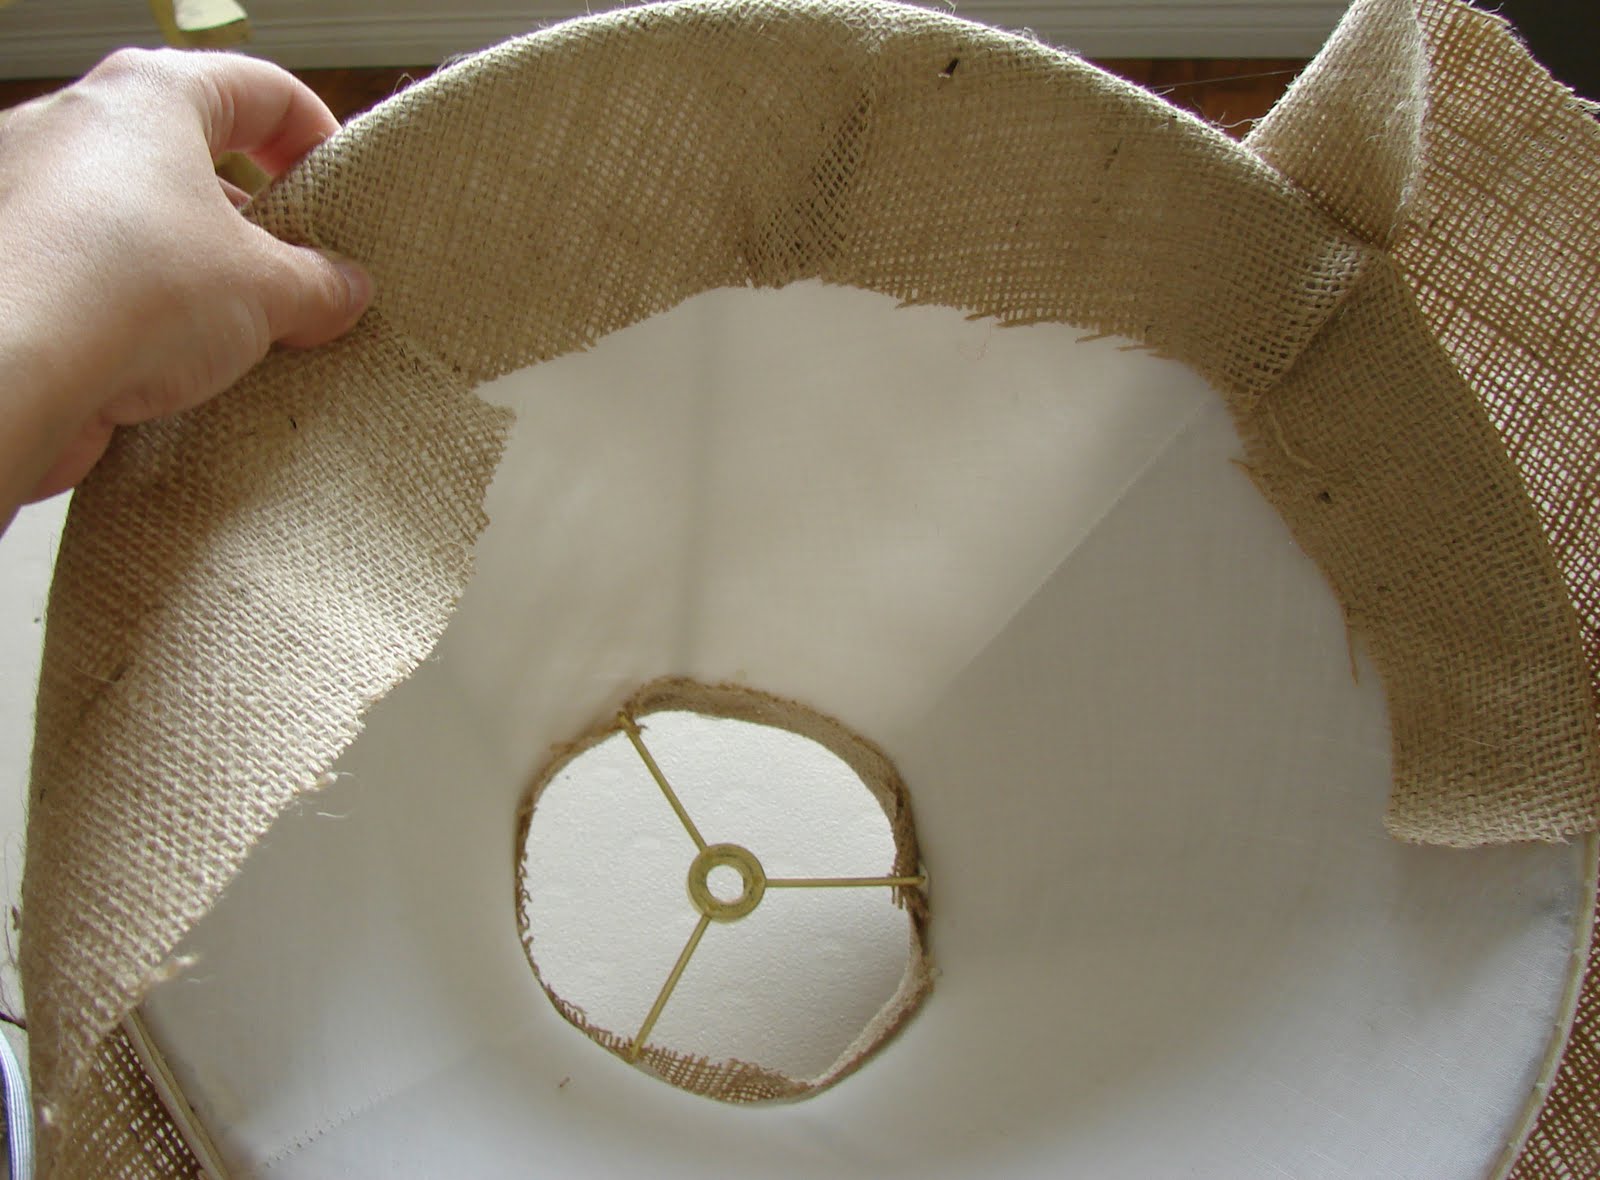
I used freezer paper do make my pattern out of. I cut the beads off first {I will definitely use them later!}. Then I just drew a line as a rolled the lampshade in a half circle. I wasn't precise with it, I am sure that there are always better ways of doing everything I do. :)

Once I cut this half circle, I fliped the pattern over and ended up cutting a whole circle out. I then trimmed the excess off.

I attached the top first. Hot glue loves to come through the fibers of the burlap so the clothes pins helped save my fingertips!

I just made a ruffle on top. {I also finished out the insides with thinner black ribbon, I just didn't include a picture of it}

Cut out 2 in. circles out of felt, whatever color you want. Then you make a dot of hot glue in the middle and fold one side then the other to form what my son called a "TACO".
Once the hot glue is cooled off, cut in the middle which forms 2 individual pieces for the trim.

Lots of hot gluing! You just have to make enough for your size of lampshade!

I also made that fabric flower to attach to the top side of the shade...it just needed just a little bit more.
The possibilities are endless...I have several more that I am planning on changin' up soon!!
Enjoy!!!Linked to:
Keeping it Simple
Between Naps on the Porch
The Girl Creative
Making the World Cuter
Chocolate Sundaes
Reinvented: Trash to Treasure Tuesday
My Frugal Family: Talented Tuesday
A Soft Place to Land
Today's Creative Blog
That is a hard lamp shade to recover because of the shape, but it looks really cute. Great job!
ReplyDeleteI love the look of black and burlap. You have married them together so nicely. :) Your shade is lovely.
ReplyDeleteThanks for sharing and have a wonderful day!
Cute Jenn!! I bet the wrinkles will hang out in time. And, I LOVE the ribbon on top!
ReplyDeleteahhh, burlap makes everything beautiful!
ReplyDeleteThanks for the tutorial! I need to recover a lampshade for my father-in-law, who is moving into a retirement apartment, and it's a very odd size. I think I can do this!
ReplyDeleteToo cute Jenn! I have a lampshade in the same shape that has been taunting me. But not anymore. Thanks so much for including the 'how to' on this one.
ReplyDeleteWow what a great transformation!
ReplyDeleteJenn! This is too amazing I love it!!
ReplyDelete~Morgan
Meet Virginia!
Meet Virginia!
Meet Virginia!
Thanks so much for this tutorial. I bought a lamp at a garage sale this weekend that is in desperate need of a face lift.
ReplyDeleteGreat instructions and gorgeous results.