Showing posts with label lamps. Show all posts

Monday, April 18, 2011

Spring Banner Lampshade

I was a part of
 last week, this is the project that I shared.
You have to go and check out all of the fun projects
that was posted on Kara's blog!!
I just have to tell you a little story behind my history
of lamp-making before we get started.
Back in college {years & years ago}, I had no money.  So, for
presents for my friends and family I found a way to be creative and make something
for them.  I figured out a way to make lamps out of huge, empty pickle jars that
the snack bar at *-mart would just give to me.  One day, as I was making a lamp,
my husband {boyfriend at the time} came over to my place and thought it was
a fun little project and was impressed with my resourceful use of materials.

 As I was making this one...it has been a very long
time since I have made one, he came in and told me that he knew that he loved
me that day that I was making lamps almost 15 years ago.  I thought it was so
sweet to know that he loves me being creative!  Ok...back to the tutorial...

 I found this jar at my local flea market, spray painted the lid blue and had my hubby drill two holes in the top.
This jar is about 1 foot tall, you can find a lot of fun shapes and sizes of jars.
 Before I embellished it...which I also like it plain and simple.
I bought the lampshade at Target, but you can also
make your own burlap covered lampshade!
 You can buy a lamp making kit pretty much anywhere in the hardware section.
You thread the cord through the little hole and then back up the middle hole.
The kit comes with really good instructions also.
 You split the two wires apart a little bit more {about 3" more}.
 In the instructions, it shows you how to make an Underwriter's Knot.  You have a ribbed and a flat wire and you have to wrap the right one to the right screw on this part, otherwise it doesn't work. 
I tested mine to make sure it worked before I got any further!
 Once I had that done, to make the fixture stable, I hot glued it on the inside.
 Here are a couple of close up shots of the banner part.
I used Canvas Corp, Tattered Angels, Houseof3/Pink Paislee, Glitter, ModPodge,
 American Crafts ribbons & Crystal Stickers.
In this picture, I used a mini canvas shape and twine{both canvas corp} and sprayed it
with Tattered Angels Glitter Mist.  My new favorite thing!!

 This is a side view of the lamp, I am loving it on my entryway table along with all of my Spring-y decor!
 I just had to show that I tied ribbons on the lid and also added some bling around the top edge!
You can fill the jar with a lot of fun and interesting items, I chose a simple little
nest.  Maybe because I can't get enough of them!
I hope that you enjoyed my little tutorial and that it inspired you in some way!

Wednesday, January 12, 2011

Valentine's Decor--Entry Table

I got out my Valentine's Day Decor today that I made from last year.
I am sure that I will be adding to this as the days go by!
Looking at this picture, I need to put something on my ledge above the banner!

For Christmas, Bill's parents gave us this picture of the
that we were married in 14 years ago!  Love it!!
 This is a lamp that I bought at Goodwill and spray painted it black. 
I covered the lampshade with burlap last spring{click here for the tutorial}. 
It needed a little color, so I attached a large barrett to it
 Easy, Easy!
 I got this glass bird container for Christmas from my sweet in-laws!
 I love it!
I just dumped some red pom-poms in it for color...and warm fuzzies!
 This is a banner that I made last year out of burlap. 
It was on my banner last year, but it found its way over to the Entryway this year!
Enjoy your day!
Featured on:

SAS Interiors

Linked to:

Wednesday, June 9, 2010

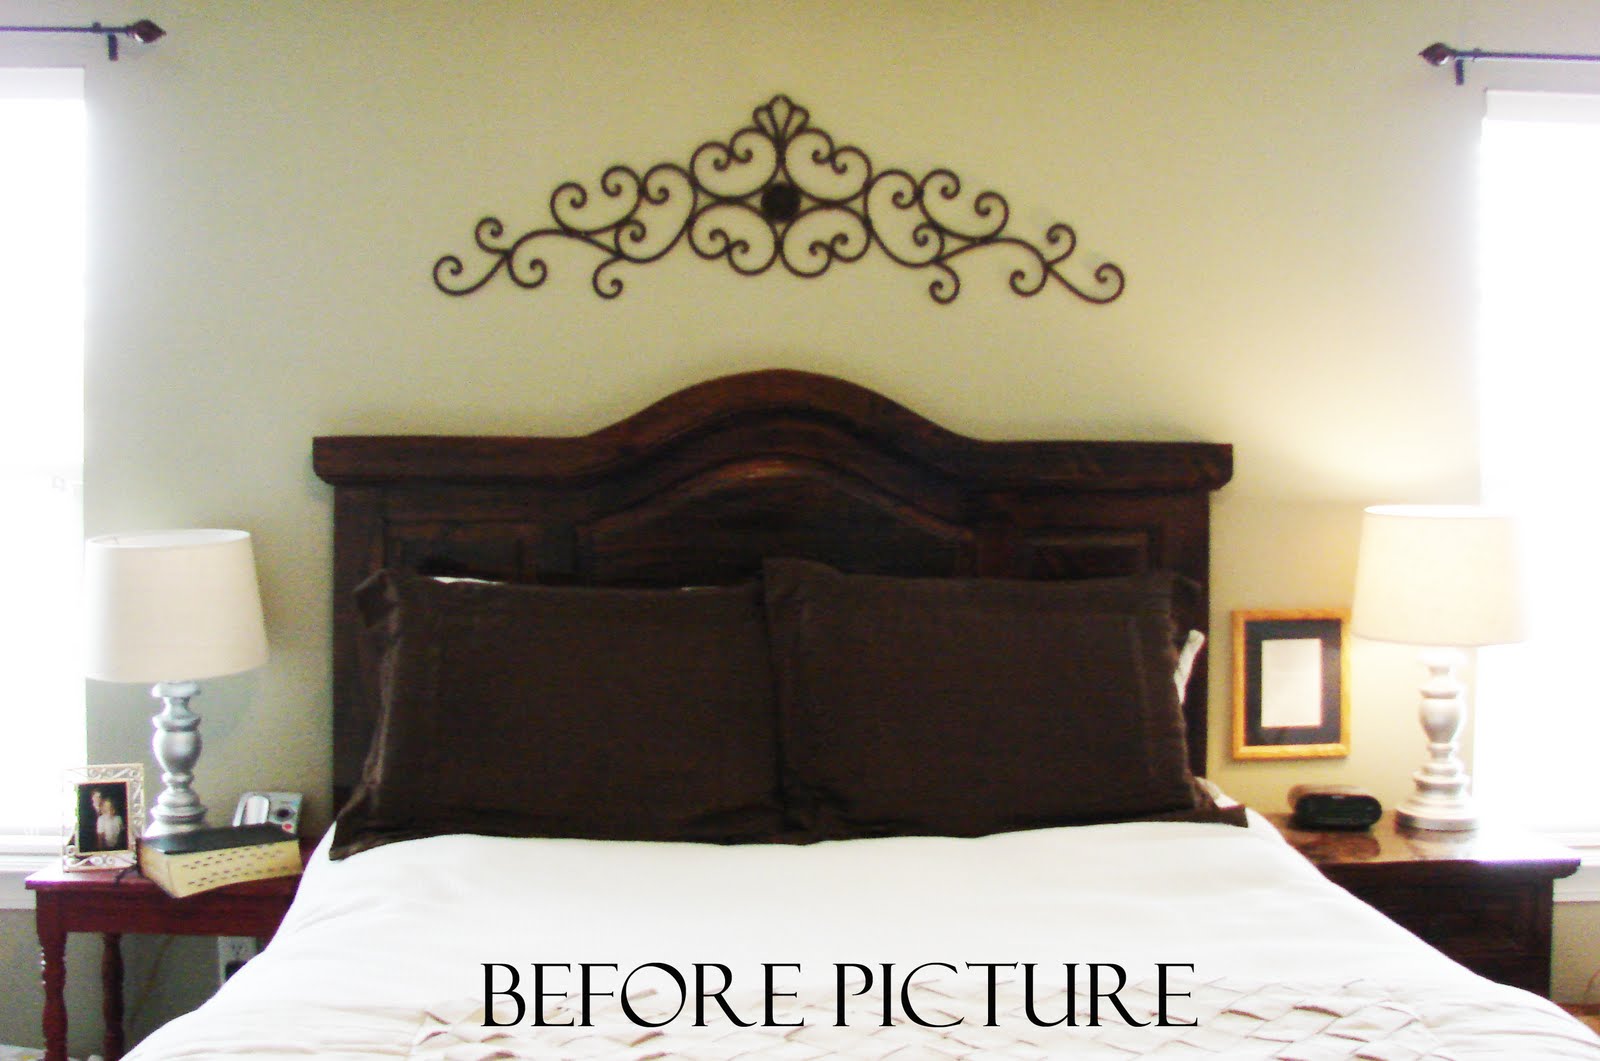
Master Bedroom Re-Do: Drop Cloth Headboard Slipcover & More

I have been wanting to freshen up the Master Bedroom for a while!
A Drop Cloth, Spray Paint, Fabric & Time and this is the result:
Before, the bedroom was dark with no color besides my little red nightstand
I love the splash of Blue...
Really the pictures do not give it justice...
I spray painted my nightstand a glossy brown to match Bill's nightstand.
{That picture on my nightstand is our engagement picture from almost 14 years ago!}
I bought these lamps at Goodwill and saw the potential!
I just painted them Americana Bahama Blue, used a brown stamp pad to shabby it, and finished it with Satin Varnish for the glossy look. {Super easy and fast}
I used a 6'x9' Drop Cloth {yes, the canvas painting one from Lowes} and I washed it first.
I turned it on the back side and pinned it to give me the shape to sew.  This took me a little while to do, between having 3 of the 4 kids at home...you know how that goes! :)
When I finished sewing the slipcover for the headboard, I printed off this design for the iron-on!
{I used Photoshop Elements to design this iron-on.  The Scroll is a brush from Rhonna Farrer's Creative Banners kit and then I typed in "Love is Spoken Here".}
I am pretty sure that I will add a flower/rosette on there soon!!
{I am testing to see if my sister, Janis, is reading my post...I just found out that she just likes to look at my pictures and doesn't bother to read my post...leave me a comment if you read this Janis Ann!}
Anywho, I bought a bolster pillow at Tuesday Morning for really cheap a few weeks ago and I finally made the pillow cover for it.
I just cut out the size I needed, hemmed the edges, rolled the pillow in it, and tied jute on the ends to give it the candy look.
I bought these fabrics from Hawthorne Threads, the fabric line is from Michael Miller {click here for the website link}.  They were really quick on the delivery...very impressed!
Enjoy, I know that I will!
Linked to:
The CSI Project
Visit thecsiproject.com
Beyond the Picket Fence and Featured Here
Shabby Chic Cottage
Somewhat Simple
Cheap Chic Home
Tatertots and Jello and Featured Here
I Heart Naptime
Saving Money Living Life